Reloading Tips for the beginner
Remember to go slow, read the instructions, and proceed with small steps. Safety is the most important thing.
1) To start with, try to determine if you will shoot enough to warrant the cost of the equipment you will need to purchase.
2) Next determine if you want a single stage press or a progressive press; the single requires that one step only is done each time the press is cycled, whereas the progressive has multiple dies that all do a different step as the press is cycled. There are single and progressive presses for pistol, shotgun and rifle cartridges.
3) Along with the press, you will need a scale to measure the powder charges, a chamfer tool to clean up the case mouths of once fired factory brass, and a tumbler to clean dirt and debris from the surfaces of the shells. For metallic cartridges you need the correct sizing die for the caliber of pistol/rifle. To have the shells fit like a factory shell, a full length resizing die is recommended. For shotgun shells, you need to have the correct charge bar for the gauge you are working on.
4) Sort your brass by caliber and clean the same caliber at one time. Clean brass is easier to resize and does not become scored like dirty brass. Scoring is scratching of the brass surface created by dirt which gets forced into the surface by the sizing die. This will continue to score deeper until the brass cracks.
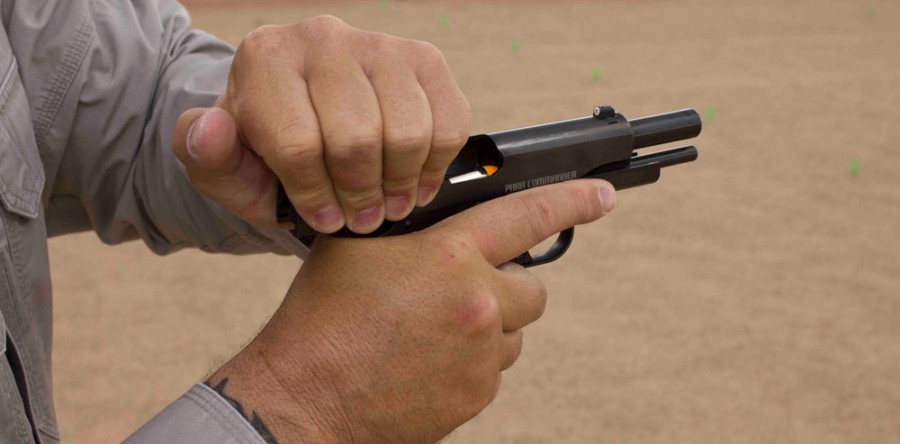
5) The first step of resizing is to place the cleaned shell into the shell holder in the press. Make sure that you have the de-priming and full length resizing die set up in your press. Cycle the ram of the press to the up position, this will pop out the old primer and will resize the lubricated full length of the shell. Place a new primer in the primer seat, installing it into the shell on the down stroke of the press, you will feel it go in to the primer pocket of the shell. Visually inspect this step to make sure that the primer has been inserted to the correct depth. With your finger run it across the primer, if it is up a little you need to use the ram to seat it deeper; if it is too deep, it might not fire if your firing pin does not contact it hard enough, you should pop it back out and install a new one to the correct depth. It is more dangerous to not seat the primer deep enough, than to seat it too deep; not deep enough, the primer body could be impacted by the bolt and fire off without the firing pin hitting it.
6) The next step is to “bell” out the mouth of the shell; this is done with the next die in the set. “Belling” the mouth allows you to place the new head into the mouth of the shell after placing a new powder charge into the shell. Cycling the ram to the up position also sets the head to the correct depth in the shell.
7) Too deep and the shell might not feed easily, and could create more pressure than is safe; not deep enough can also cause feed problems. In either scenario adjust the die to the appropriate depth for this caliber.
8) The final step is the crimping step, done with the crimping die. This step also closes the “bell” of the mouth against the head, locking it in place. Some heads have a striated groove around the circumference of the projectile head, this is where the mouth of the shell is to be finished on this groove. These are found on Magnum and other higher pressure shells.
9) Remember: reload when you are not distracted, you need to concentrate on what you are doing and pay attention to the step you are doing. Go slow, Be safe, Strive for Quality over Quantity. When you get the knack of reloading correctly, you can make your own Custom rounds which will shoot better and hopefully be less expensive than factory ammo, and in most cases can be tailored to fit your shooting needs, exactly.


Leave A Comment